I may have already mentioned what an *insanely* busy week I have -- one without a single spare second for playing around with DIY projects, redecorating, or blogging about those things. Yet, here I sit, about to share the fabulous (if I do say so myself) beachy bedroom makeover I just pulled off in my daughter's bedroom yesterday. She's at grandma's during church summer camp (grandma lives closer than we do), and though I have SO much more I should be doing... why not redecorate something instead?
It is inevitably times when I really don't have the time to spare that I take on projects like this. It drives my husband absolutely up. the. wall. His very logical mind doesn't understand why prioritizing my tasks is so difficult for me. The simple answer is that I really hate housework and would so much rather be doing something I enjoy. Sad, but true.
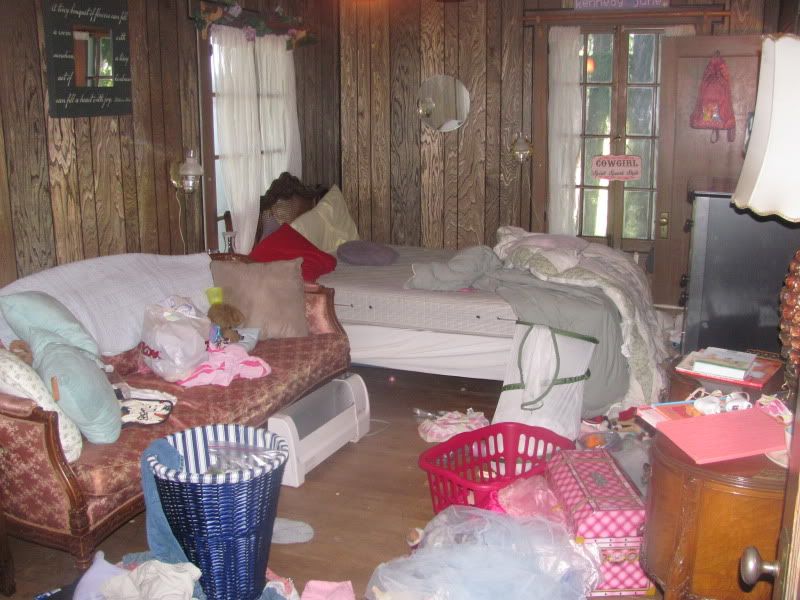
Anyway, as embarrassed as I should be to share this photo with the world, this is exactly how my daughter left her bedroom:
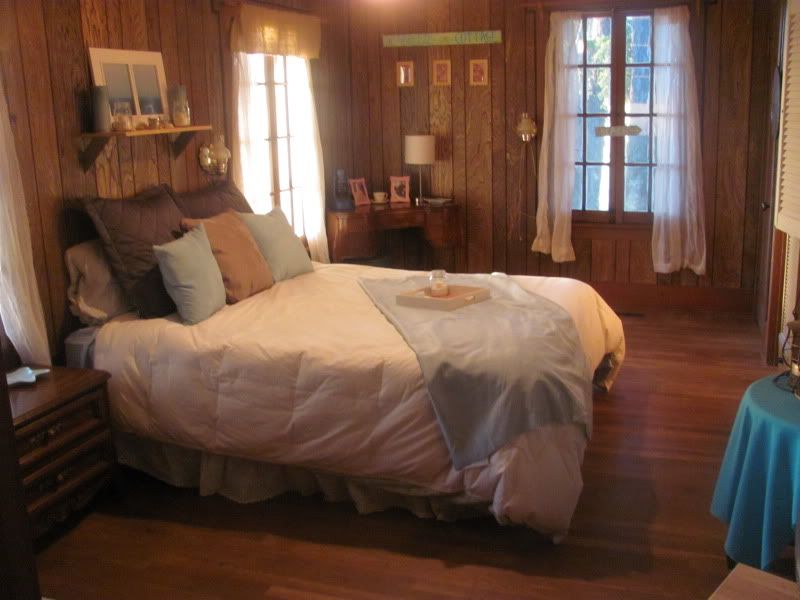
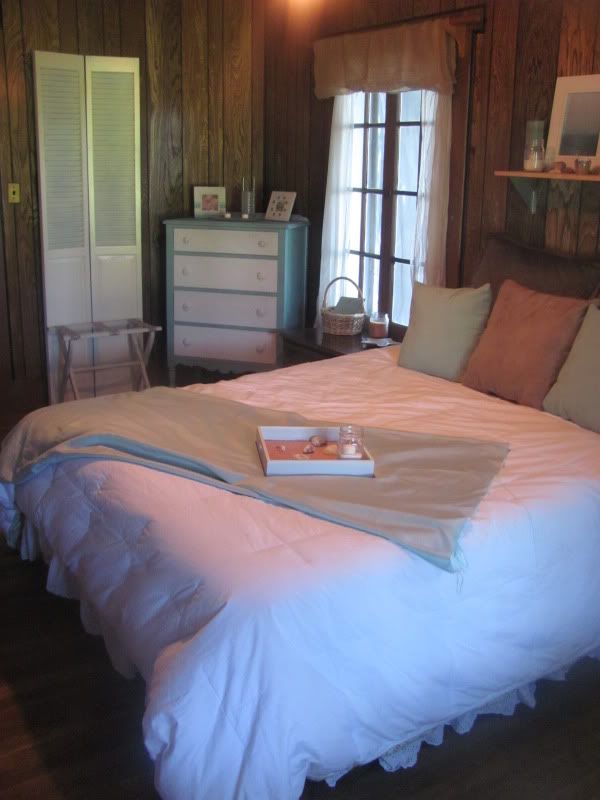
And this is how it looks now:
Not bad for 4 hours, eh?
We're having loads of houseguests coming through over the next few days to celebrate My Girl's 7th birthday, and this room also serves as a guest room (she has a bed up in the loft, too, where all the toys are supposed to be, which is where she sleeps when we have guests and, in the summer, whenever the urge strikes). Anyway, she's in love with mermaids and horses and princesses, all things girly and all things tomboy-ish, and is as organizationally challenged as the rest of her family, I'm afraid. If she had her way, she'd have a Little Mermaid bedroom with horses everywhere and Disney Princess decals on the wall... all of which makes my decorating OCD twitch and lurch, especially in a sometimes-guest room. It probably makes me a terrible mother that I just can't give my little girl whatever kind of bedroom she wants (and in my defense, she had a Disney Princess bedroom once-upon-a-time), but I just can't stand the commercial-cartoon bedroom theme, even for a seven-year-old.
The solution she and I came to was a beachy-cottage look bedroom. We live on a ranch in the mountains, and her bedroom branches off a traditional log-cabin lodge (with moose heads on the wall and everything) so it may look a tad out of place, but this is like a grownup mermaid bedroom... something she won't argue with, and the horses and fairies and Disney paraphernalia can be stashed up in the
Part of the challenge of living here has been that we're only caretakers for the place and the house doesn't really belong to us. Our decorating options are limited, and I'm not able to be rid of the green shag carpeting, harvest gold lineoleum/sinks, or, horror of horrors... wood paneling. Gah. I sooo would love to paint the paneling white in this room, but for now I just have to do my best to draw attention away from the oh-so-retro look. I do love the wood floors in there, though.
Anyway, this is what I did in the room...
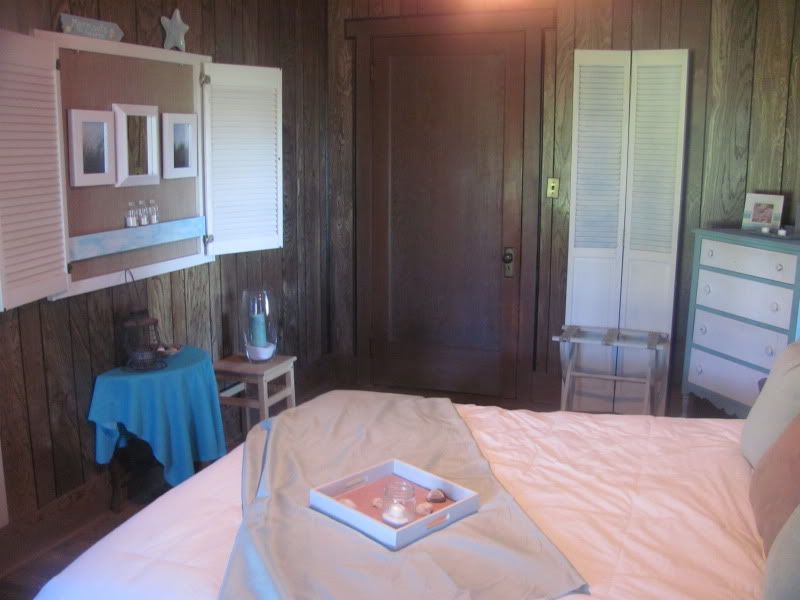
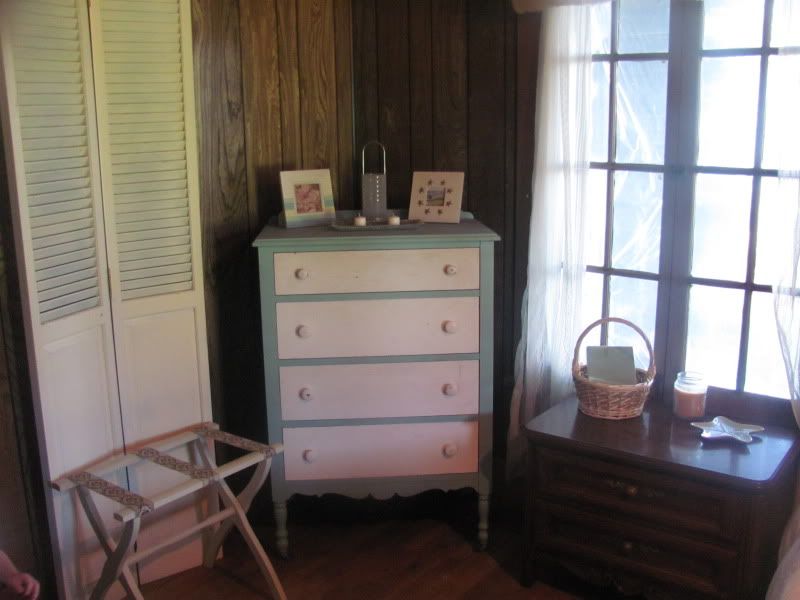
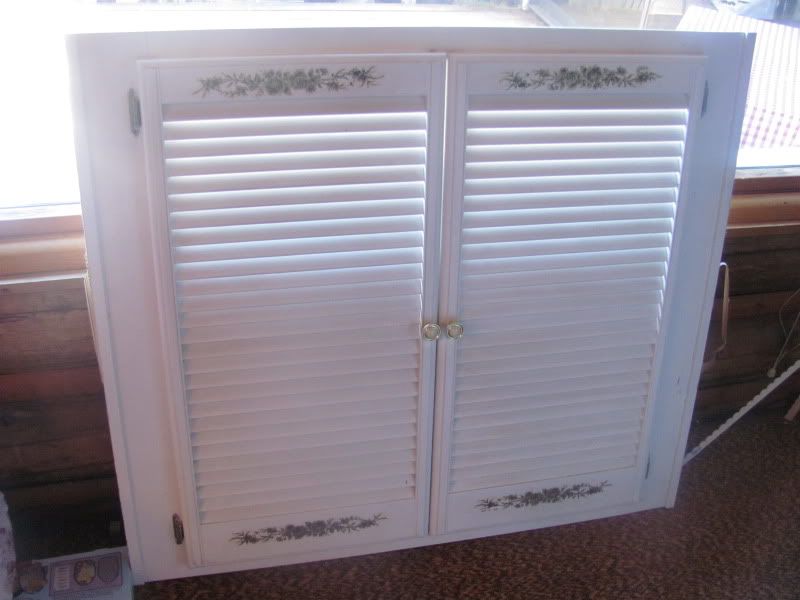
I switched out the black dresser for a junk-store makeover that was in my studio. My sister-in-law found this great piece buried in the back of a junk shop for $30 and it's been something we're working on together for her first place. She'll take it to college with her in the fall, but we're putting it to good use until then, since she doesn't have anywhere to store it. It was dark wood with white drawers, and all we've done so far is spray paint the outside, leaving the drawers in their previous weathered shape. The shutters are from ReStore and were stashed in the guest house, so I pulled 'em in to add some more white to the dark room.
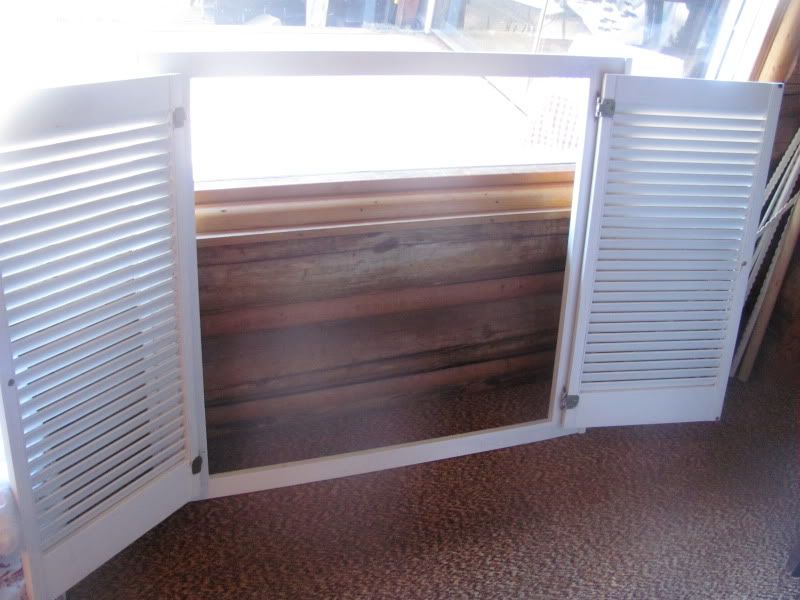
This was another ReStore purchase (for $5!). A window frame with shutters that open.
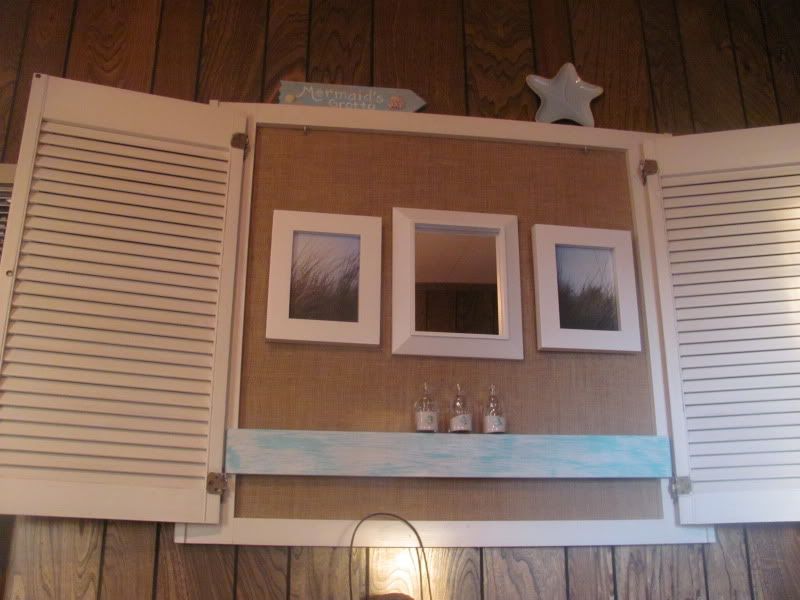
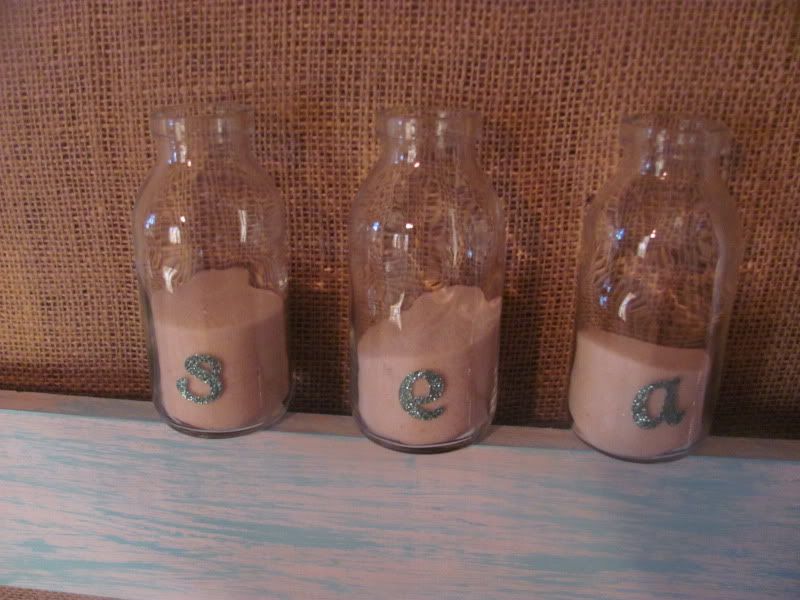
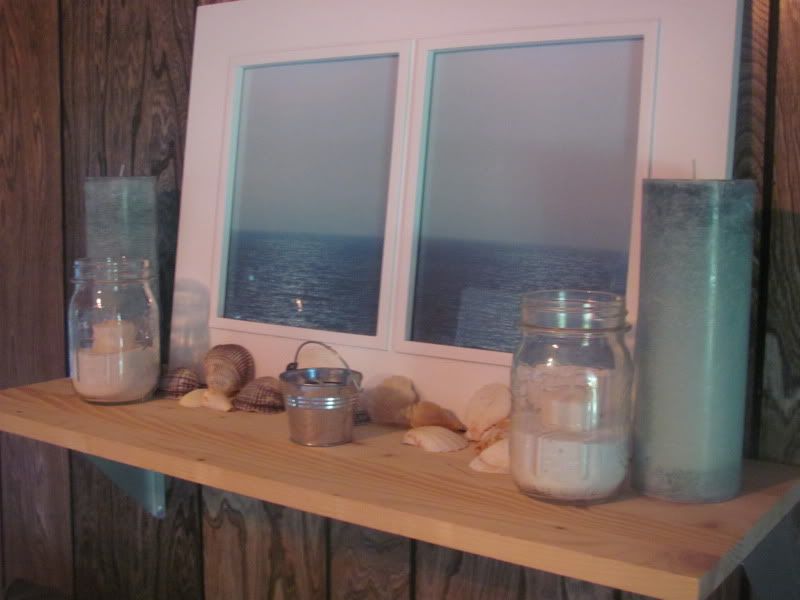
I thought I'd love an aqua fabric behind this, but wasn't in love when it was done -- the color was just too bright for the muted peaceful look I was going for. For take two, I stapled burlap to the back... much better. I then dry-brushed a plain wood board and adhered it with mounting tape to create a ledge, hung a mirror and some framed sea-grass photo-look scrapbook paper. I got the glass jars in a pack of 3 at the dollar store, so I filled them with decorator sand and attached scrapbooking stickers to spell out s-e-a.
Love it! I especially like how much of the wall it covers -- hides more of the ugly wood paneling.
For the bed, I just flipped over her existing comforter so the white side was showing, instead of the quilted pastels on the other side. The throw pillows were laying around in various other rooms of the house, and the beige one is an unused couch cushion. The "throw" at the bottom of the bed is really just 2 yards of scrap fabric I found at GW for $1.
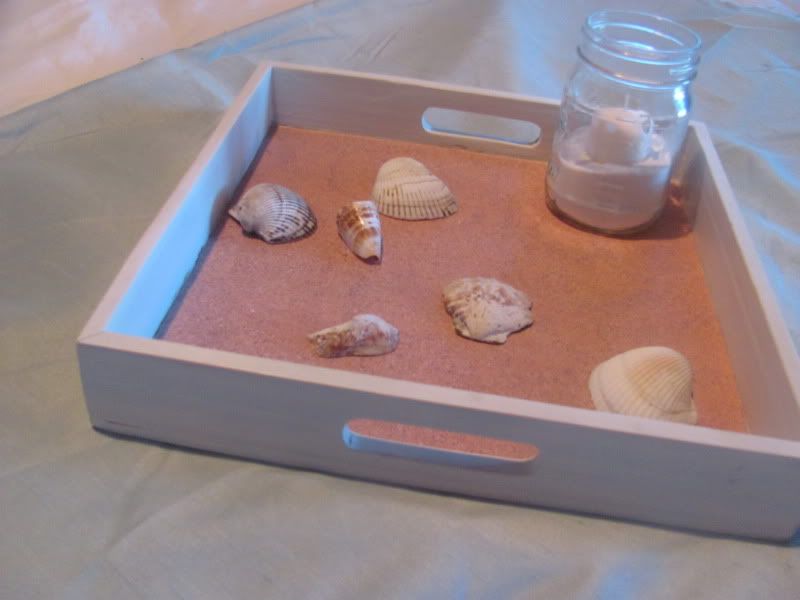
The serving tray had a big crack in the wood bottom, and it's been waiting for inspiration. In my "photo real" stack of scrapbooking paper, there was a sheet that looked like sand, so I cut the paper to size and put it in the bottom of the tray, sprinkling it with seashells ($1 for a basketfull at the Dollar Tree), and a sand-filled mason jar votive holder. Whatdya think?
Behind the bed, I hung a shelf (a cheap Ikea shelf I had stashed away), and filled a double frame with, what else, photo-look scrapbook paper of an ocean horizon, then added some candles and shelves for a little wall display in-lieu of a headboard. (There was a headboard in here before that I just took out instead of doing something with it. It would be cute painted, but that piece was already here and not mine to re-vamp, so we opted for re-housing it in the garage instead).
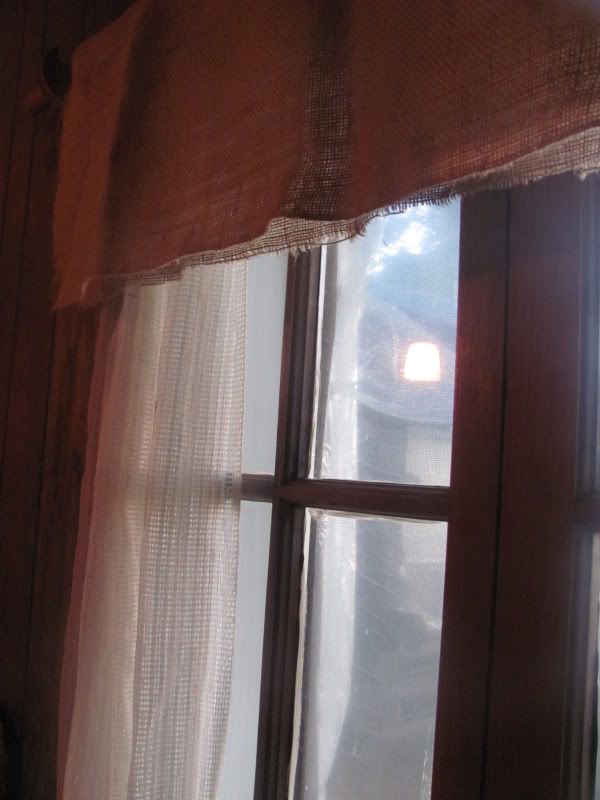
I left the white lacey curtains in the room, but cut some leftover burlap and hung it from the curtain rods for makeshift valances.
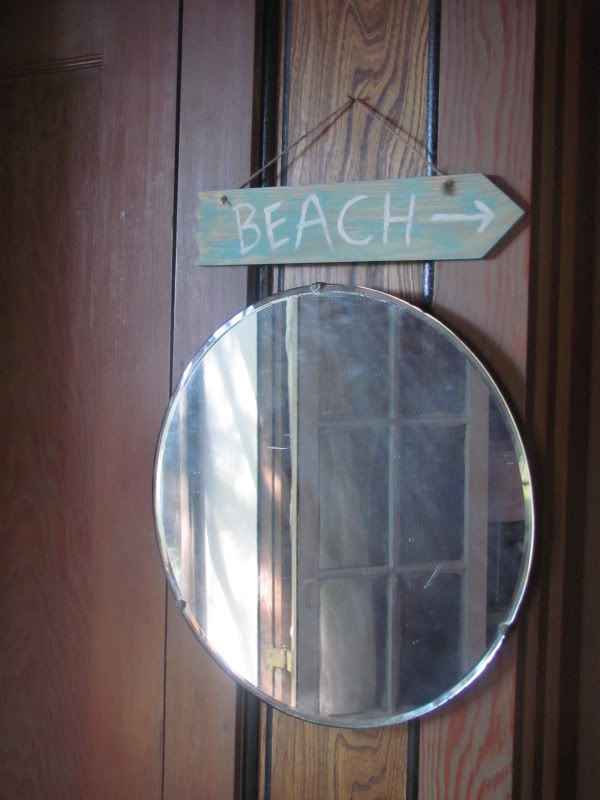
The rest of the wall decor was whipped up during the project (all part of that 4 hour time frame), with some craft paint and hot glue, in true Whimsy Smitten style. The desk in the corner will be replaced shortly with one I'm working on repainting, and we'll be adding a little vanity I'm re-doing for her as a birthday present (sshhh!).
Voila~!
Now I want to move into this room! I love the peaceful colors, and these windows get a great breeze through the room, which can really fool you into thinking you're relaxing in some beach cottage on the coast.... if you ignore the sound of the cows and goats outside, that is.
Even though I SO didn't have time for it, it was totally worth the four-hour diversion to pull this off. What do you think?
Linking to these parties:


Hi! I found you on All Thingz Related. I have to say the change in the room is amazing. And in only four hours, wow! I love what you did with the shutters. And that dresser would fit in my daughters room just perfect! Great job!
ReplyDeleteIt is amazing what you can do with just a little bit a time! Way to go!
ReplyDeleteI love the new look! It's so sweet and cute and something she can grow in to!
ReplyDeleteWay impressed! And I'm totally with you on the non-themed bedrooms. Your little gal will be thrilled when she returns home!
ReplyDeleteLove the transformation.The room looks so cozy and peaceful.I am sure she will love it!
ReplyDeleteThis looks awesome! You did such a great job. Visiting by way of All Things Related. MakazHome.com
ReplyDeleteWow, I just found this. I'm so impressed. You've given me lots of ideas. Thanks a heap!
ReplyDeleteI love it. I could so relate to this re-do.
ReplyDeleteI love the beach but we are stuck in the north GA mountains. Also- when my husband and I got married, we lived in a rental that had wood paneling and I HATED it!! But... I figured out how to work around it.... Re-positional contact paper! Thats right... the stuff in the rolls. It doesn't hurt the wall... and it's simple to put up because you can peel and re stick as much as you want. Actually, since I discovered the contact paper thing... I fell in love with it. I just put in up in our current home on Sheetrock as an accent wall.
Anyway- thanks for sharing your re-do.
Emily
paperpixiecrafts.blogspot.com
I love it. I could so relate to this re-do.
ReplyDeleteI love the beach but we are stuck in the north GA mountains. Also- when my husband and I got married, we lived in a rental that had wood paneling and I HATED it!! But... I figured out how to work around it.... Re-positional contact paper! Thats right... the stuff in the rolls. It doesn't hurt the wall... and it's simple to put up because you can peel and re stick as much as you want. Actually, since I discovered the contact paper thing... I fell in love with it. I just put in up in our current home on Sheetrock as an accent wall.
Anyway- thanks for sharing your re-do.
Emily
paperpixiecrafts.blogspot.com
This looks awesome! You did such a great job. Visiting by way of All Things Related. MakazHome.com
ReplyDeleteWow, I just found this. I'm so impressed. You've given me lots of ideas. Thanks a heap!
ReplyDeleteLove the transformation.The room looks so cozy and peaceful.I am sure she will love it!
ReplyDeleteHi! I found you on All Thingz Related. I have to say the change in the room is amazing. And in only four hours, wow! I love what you did with the shutters. And that dresser would fit in my daughters room just perfect! Great job!
ReplyDelete